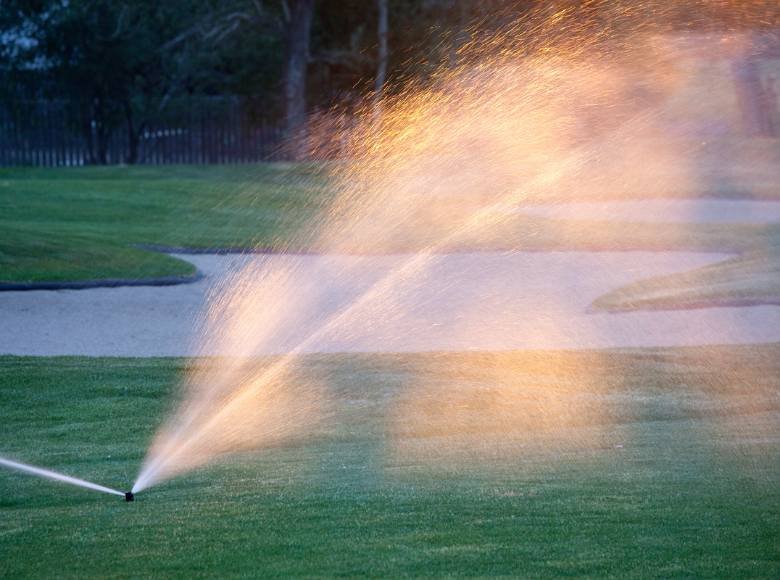
The steps to install a quick coupler for golf course hand watering starts with gathering the necessary tools and materials, choosing the right location, preparing the area, installing the quick coupler assembly, connecting the water line, applying the Teflon tape, attaching the hose, and testing the system, to name the key methods.
Maintaining a lush and vibrant golf course requires meticulous care and attention, especially when it comes to watering. Hand watering is a common practice to ensure that every area receives the right amount of moisture. To streamline this process and make it more efficient, installing a quick coupler system can be a game-changer.
A quick coupler allows for easy attachment and detachment of hoses, saving time and effort for groundskeepers. In this guide, we will walk you through the step-by-step process of installing a quick coupler for golf course hand watering.
Step 1: Gather the Necessary Tools and Materials
Before you begin the installation process, it’s essential to gather all the required tools and materials. You will need:
Quick coupler assembly kit
Shovel
Pipe cutter or hacksaw
PVC pipe
PVC cement
Measuring tape
Marker
Teflon tape
Adjustable wrench
Step 2: Choose the Location
Select the appropriate location for the quick coupler. It should be easily accessible and strategically placed to cover a wide area of the golf course. The chosen spot should be level and free from any obstacles that might hinder the installation process.
Step 3: Prepare the Area

Use a shovel to dig a hole at the chosen location. The hole should be deep enough to accommodate the quick coupler assembly, but also consider leaving a bit of space above the coupler for easier access.
Step 4: Install the Quick Coupler Assembly
Follow the manufacturer’s instructions to assemble the quick coupler. This typically involves attaching the housing to the main body and securing it with screws or bolts. Insert the assembly into the hole you’ve dug, ensuring that it sits flush with the ground.
Step 5: Connect the Water Supply Line
Measure and cut a length of PVC pipe that will connect the quick coupler to the main water supply. Use a pipe cutter or hacksaw to make a clean and precise cut. Apply PVC cement to both ends of the cut pipe and to the coupler’s inlet, then connect the pipe to the coupler. Allow time for the cement to dry and create a secure seal.
Step 6: Apply Teflon Tape
Before connecting the hose, wrap the threads of the quick coupler’s outlet with Teflon tape. This will help create a watertight seal when attaching the hose.
Step 7: Attach the Hose
Attach the garden hose to the quick coupler’s outlet. Make sure the hose is securely fastened and that there are no leaks. Use an adjustable wrench to tighten the connection if necessary.
Step 8: Test the System
Turn on the water supply and test the quick coupler system. Check for any leaks or irregularities in the water flow. Adjust the water pressure as needed to ensure even and effective watering across the golf course area.
Step 9: Cover and Protect
After testing the system, cover the quick coupler assembly with soil to protect it from damage and to maintain the aesthetic appearance of the golf course. Ensure that the coupler remains easily accessible for future use.
Step 10: Educate Groundskeepers
Once the quick coupler system is installed, it’s important to educate your groundskeeping team about its proper usage. Train them on how to attach and detach hoses, as well as how to adjust water pressure for different areas of the course.
Benefits of a Quick Coupler System
Some of the key benefits of installing quick coupler system are as under:
Time-Saving: With a quick coupler system in place, attaching and detaching hoses becomes a breeze, saving valuable time for groundskeepers.
Efficiency: The quick coupler ensures a secure connection, reducing water wastage due to leaks or inefficient connections.
Consistency: A quick coupler system allows for consistent water pressure and distribution, leading to uniform irrigation across the golf course.
Professional Appearance: The flush-mounted quick coupler maintains the course’s aesthetic appeal, enhancing its overall presentation.
Installing a quick coupler system for golf course hand watering can significantly enhance the efficiency and effectiveness of your maintenance routine. By following the steps outlined in this guide, you can ensure a smooth installation process that benefits both the groundskeeping team and the overall health of the golf course. With proper care and maintenance, the quick coupler system will become an invaluable tool in your efforts to maintain a beautiful and thriving golf course environment.
Elevate your golf course care standards with DTE Golf®, the reliable choice. Our established history of delivering premium solutions makes us the trusted partner to guarantee your golf course enjoys optimal care and maintenance. Contact us for more information!
